Activity Description: Youth create a simple foam glider by attaching foam wings to a straw or stick and testing how it flies.
Items Needed:
- Foam sheets
- Scissors
- Straw or wooden stick
- Tape or glue
- (Optional) Markers or stickers for decorating
Instructions (Estimated Total Time: 25 min):
- Cut two foam wings. (5 min)
- Make one long wing for the front and one short wing for the back.
- Make slits for the wings. (5 min)
- Cut small slits in each foam piece so they can slide onto the straw or stick.
- (Optional) Use tape or glue to keep the wings from sliding.
- Attach the wings. (5 min)
- Slide the long wing near the front of the straw.
- Slide the short wing near the back.
- Adjust spacing to help the glider fly better.
- Test the glider. (5 min)
- Toss it gently forward to see how it flies.
- Make changes if it flips, dives, or falls quickly.
- (Optional) Decorate the glider. (5 min)
- Add drawings or stickers to personalize the design.
Step-by-Step Tutorials:
- Alternative Instructions: AMA Flight School – Foam Plate and Plastic Straw Gliders
- Alternative Instructions: Instructables – Foam Plate Glider
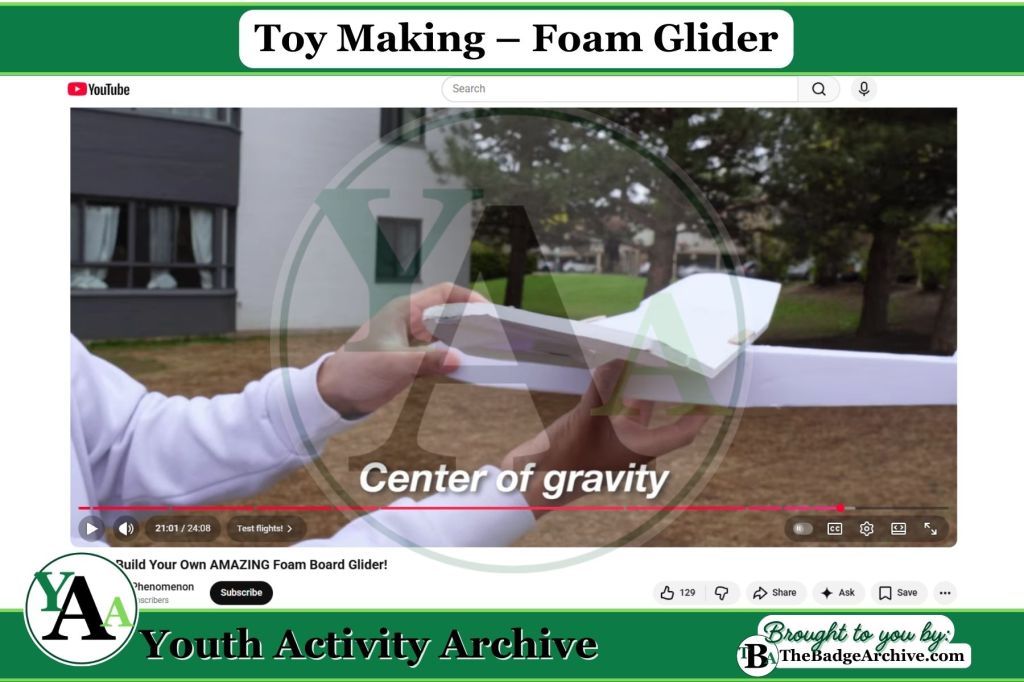
- Video: Fuad Phenomenon – Foam Board Glider
–
For More Fun Ideas and Plans

Join the Girl Scout Daisy, Brownie, and Junior Leader Help Facebook Group
(Not an official GSUSA Group)

Join the Girl Scout Cadette, Senior, and Ambassador Leader Help Facebook Group
(Not an official GSUSA Group)

See other Recommended Facebook Groups for some Scouting Organizations
(No official Groups)
–
Click Here -> To see information References:
Disclaimer: The information published on Youth Activity Archive and The Badge Archive is built from the references listed below. These sources demonstrate that our content is grounded in facts and research, not opinion or speculation. Readers may consult them directly when looking for additional material.
- “Foam Plate Glider.” Instructables, 14 July 2014, http://www.instructables.com/Foam-Plate-Glider/. Accessed 27 Dec. 2025.
- Fuad Phenomenon. “ How to Build Your Own AMAZING Foam Board Glider!” Youtube.com, 6 May 2025, youtu.be/9BucsxmdSmo?si=SXd8aMhVW-xSzdvO. Accessed 27 Dec. 2025.
- Kuhl, Bill. “Foam Plate and Plastic Straw Gliders.” Academy of Module Aeronautics, 2020, http://www.amaflightschool.org/diy/foam-plate-and-plastic-straw-gliders. Accessed 27 Dec. 2025.
- Find out how you can support The Badge Archive!
- Return to the Toy Making Category